The short version
- If a step feels uncertain, stop and use a qualified bicycle mechanic.
- Never ride with brakes, steering or wheels that you suspect are unsafe.
- Use the component manufacturer's instructions for torque settings and model-specific procedures.
Before you start
Work somewhere bright and stable. Clean dirt from the area first so that you can see what is moving and avoid carrying grit into threads or bearings. Photograph the original setup if several parts must be removed.
- Use tools that fit the fastener properly
- Keep small parts in removal order
- Do not force a seized or cross-threaded component
- Check the maker's manual for your exact part

Step by step
- 1
Confirm the wheel and axle are fully seated and secure.
- 2
Inspect the rotor and pads for damage or contamination without touching braking surfaces.
- 3
Loosen the caliper mounting bolts only enough for the caliper to move.
- 4
Centre the caliper using the maker's procedure and retighten evenly.
- 5
Spin the wheel, apply the brake firmly and confirm consistent lever feel.
Checks before riding
Test the repair while the bicycle is stationary, then make a short, low-speed test ride away from traffic. Recheck anything that was loosened after the first ride.
- Fasteners remain secure
- The repaired system moves freely
- Brakes and wheel retention work correctly
- A low-speed test ride reveals no new fault
When to use a bike shop
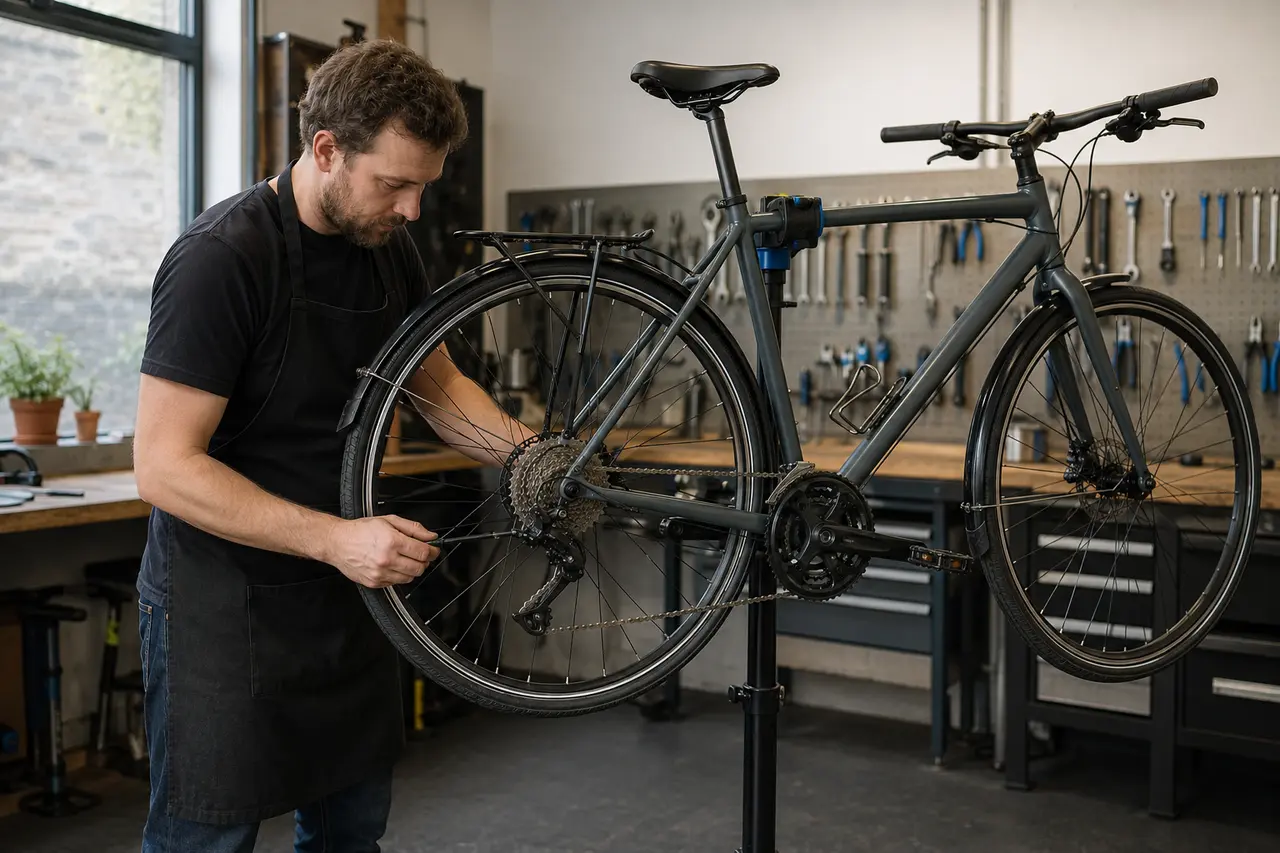
Book a mechanic if a component is cracked, badly corroded, repeatedly slips out of adjustment or needs specialist tools. Safety-critical work is not the place to improvise, and a quick professional repair is often cheaper than replacing a damaged part later.
Work methodically and stop when uncertain
Clean the area first, work in good light and use a tool that fits the fastener correctly. Photograph the starting position before removing several parts and keep washers, spacers and small fittings in order. Use the component manufacturer's document for torque values and model-specific procedures rather than guessing.
Never continue riding when steering, brakes, wheel retention or a structural component may be unsafe. Cracks, serious corrosion, repeated slipping or a repair that needs specialist tools are reasons to use a qualified bicycle mechanic.
Test before returning to traffic
Check the work while the bicycle is stationary, then make a short low-speed test ride away from traffic. Operate both brakes, shift through the useful gear range and listen for movement or rubbing. Recheck anything that was loosened after the first ride.
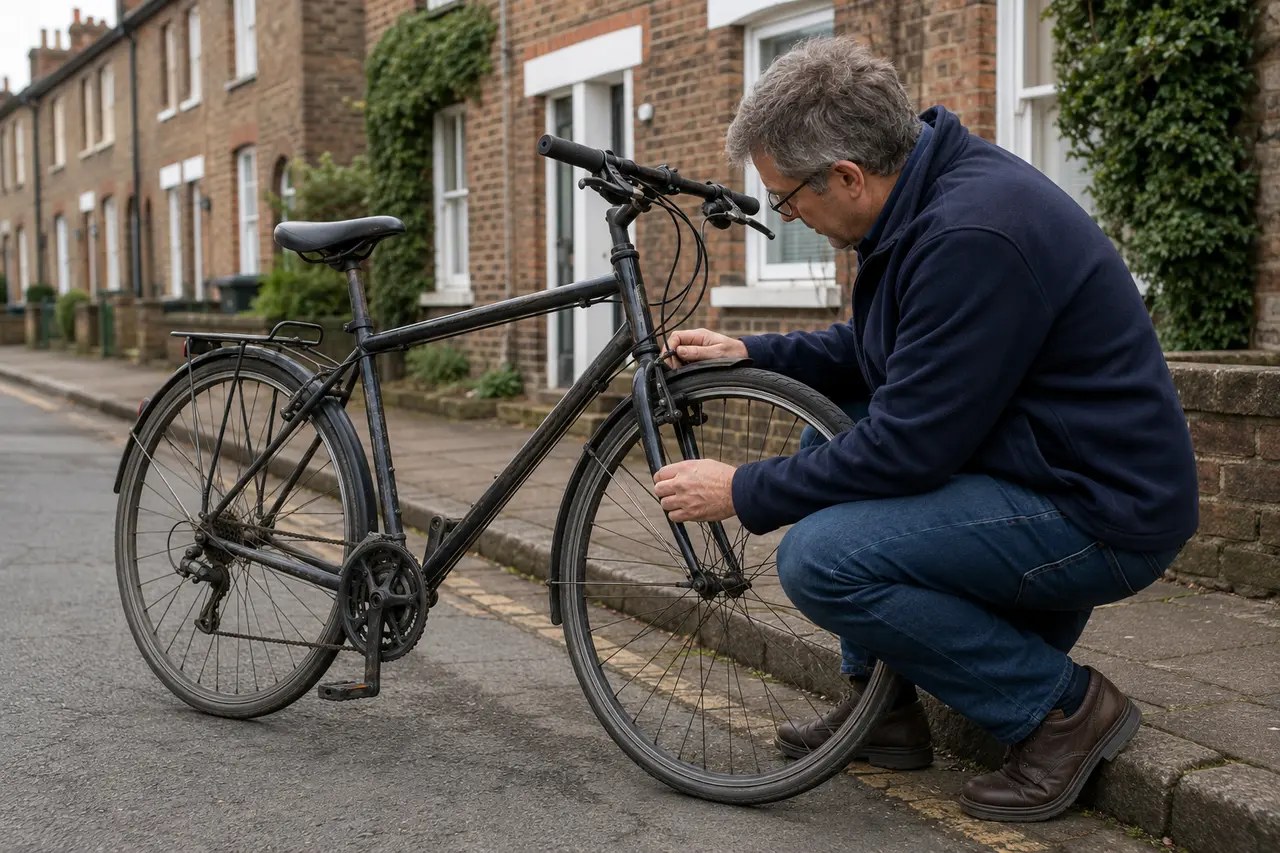
Routine checks prevent a small adjustment becoming a roadside failure. Tyre pressure and condition, brake operation, wheel security, lights and rack or mudguard fasteners deserve frequent attention on a bicycle used for commuting.
Check the current guidance
Rules, schemes and product ranges can change. These live links are the authoritative or independent starting points used for this guide.