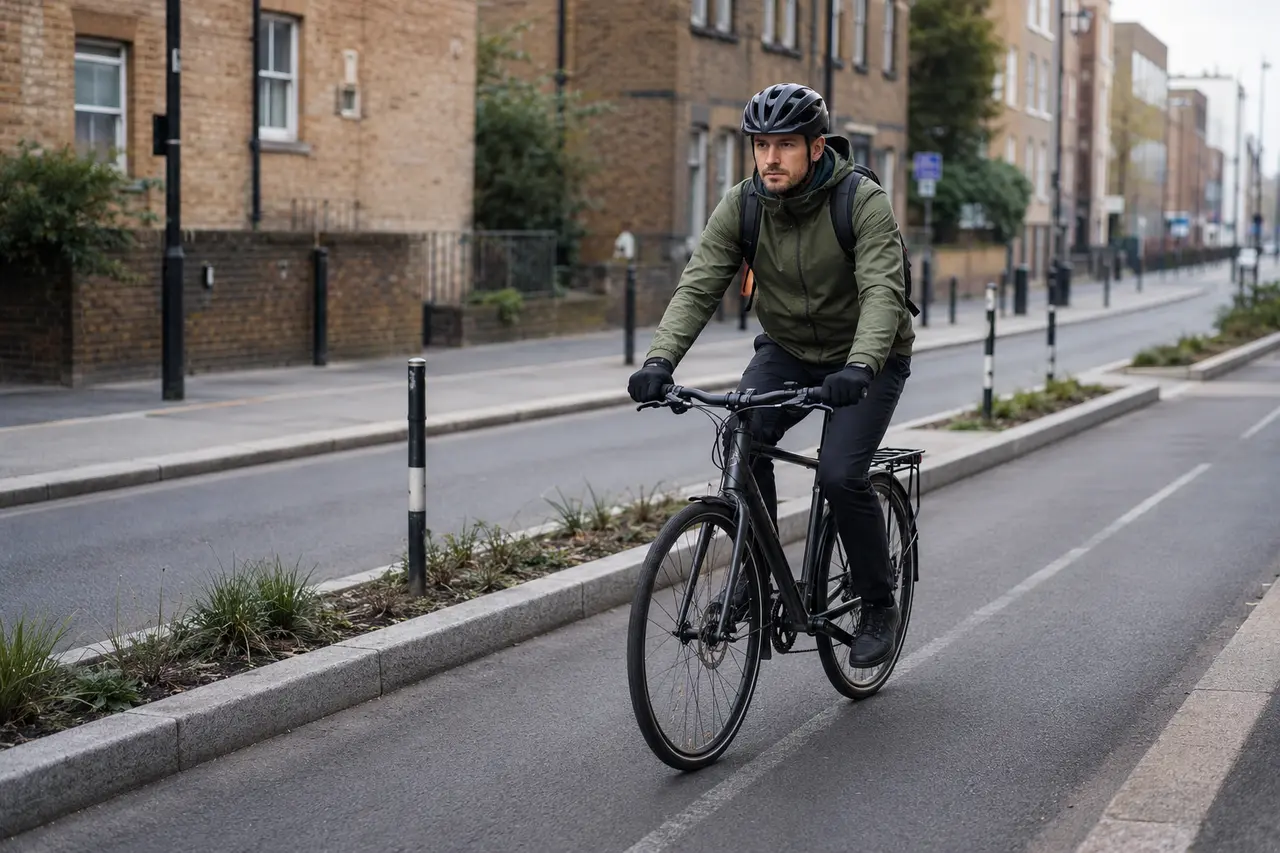
Frame and fit
- Bottom bracket: the bearing assembly through which the crank axle turns
- Chainstay: a frame tube running from the bottom bracket to the rear dropout
- Head tube: the front frame tube that holds the headset and steerer
- Reach: a horizontal fit measurement that influences how stretched-out a rider feels
- Seatpost: the tube supporting the saddle
- Standover height: the clearance between the rider and top tube when standing over the bike
Drivetrain
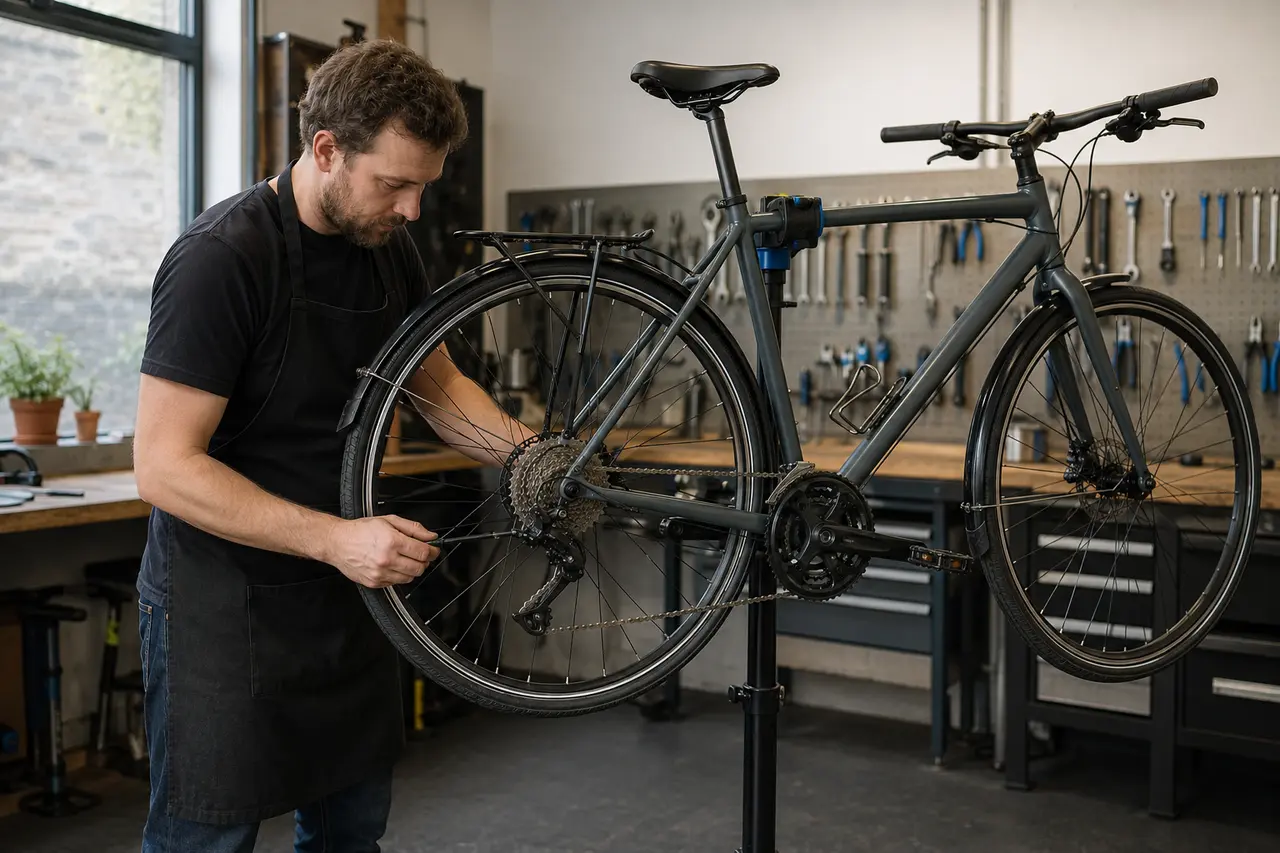
- Cassette: the cluster of sprockets on the rear wheel
- Chainring: a front toothed ring driven by the cranks
- Derailleur: a mechanism that moves the chain between sprockets
- Hub gear: gearing enclosed inside the rear hub
- Single-speed: one gear with a freewheel
- Fixed gear: one gear without a freewheel
Brakes and wheels
- Caliper brake: a rim brake whose arms form a single assembly
- Disc brake: pads act on a rotor attached to the wheel hub
- Rim brake: pads slow the wheel by pressing on the rim
- Spoke: a tensioned wire joining hub to rim
- Tubeless: a tyre and rim setup that holds air without a conventional inner tube
- Tyre bead: the reinforced edge that seats against the rim
Materials
- Aluminium: common, corrosion-resistant frame material
- Carbon fibre: light composite material that requires careful inspection and torque control
- Chromoly: chromium-molybdenum steel valued for durable bicycle frames
- Steel: broad material family used in frames, forks and components
Work methodically and stop when uncertain
Clean the area first, work in good light and use a tool that fits the fastener correctly. Photograph the starting position before removing several parts and keep washers, spacers and small fittings in order. Use the component manufacturer's document for torque values and model-specific procedures rather than guessing.
Never continue riding when steering, brakes, wheel retention or a structural component may be unsafe. Cracks, serious corrosion, repeated slipping or a repair that needs specialist tools are reasons to use a qualified bicycle mechanic.
Test before returning to traffic
Check the work while the bicycle is stationary, then make a short low-speed test ride away from traffic. Operate both brakes, shift through the useful gear range and listen for movement or rubbing. Recheck anything that was loosened after the first ride.
Routine checks prevent a small adjustment becoming a roadside failure. Tyre pressure and condition, brake operation, wheel security, lights and rack or mudguard fasteners deserve frequent attention on a bicycle used for commuting.
Check the current guidance
Rules, schemes and product ranges can change. These live links are the authoritative or independent starting points used for this guide.